In a professional setting, terms like Git, Merge, and Commit are commonly used when working with source code. While I’ve been using Git intuitively, handling errors has been a challenge. So, I’ve decided to take this opportunity to study what Git is and how to use it effectively.
1. What is Git?
Git is a version control system (VCS) designed to efficiently manage source code. It was created by Linus Torvalds, the developer of Linux, and is now widely used for managing software development projects beyond just Linux.
Git’s core functionalities can be categorized into three main areas:
1) Version Control
Git helps track changes in files over time, allowing developers to see who modified what and when. This makes it easy to revert changes and maintain a history of the project.
2) Backup
Git allows users to store a copy of their project on a different machine or server for safety and accessibility.
Some common backup locations include:
External storage (USB drives, external hard drives)
Cloud services (Dropbox, Google Drive)
Remote repositories (GitHub, GitLab, Bitbucket)
3) Collaboration
With Git, multiple developers can work on the same project simultaneously. By using a remote repository, team members can easily share and merge changes without conflicts.
2. How to Install Git (Windows)
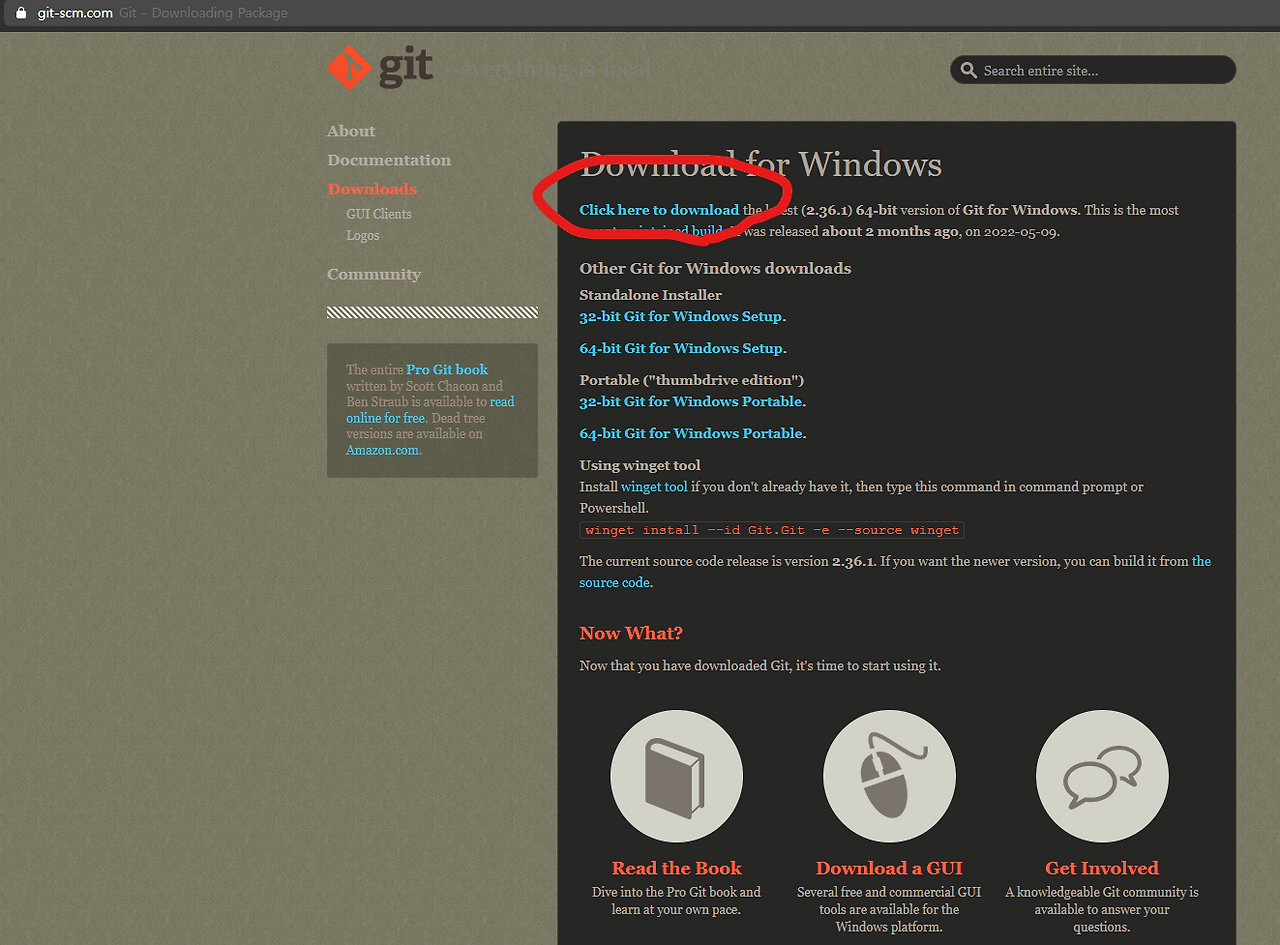
To start using Git, you need to install it on your PC. Since Git uses Linux commands, installing Git on Windows also includes Git Bash, a command-line interface for executing Git commands.
If the download doesn’t start automatically, click "Click Here to Download".
Run the downloaded file and proceed with the installation using the default settings.
Step 2: Launch Git
Open the Windows Start Menu.
Search for Git Bash and click to launch it.
A terminal window will appear, ready for Git commands.
Step 3: Configure Git
Before using Git, you need to set up your user information, which will be recorded in each commit.
Run the following commands in Git Bash:
# Register user information
git config --global user.name "Your Name"
git config --global user.email "your.email@example.com"

# Verify registered user information
git config --get user.name
git config --get user.email
This setup ensures that your commits are properly attributed to you.
Conclusion
Git is an essential tool for managing source code, enabling version control, backup, and collaboration. Learning how to use Git effectively can greatly improve your workflow and efficiency in software development.
항상 git branch를 관리하다보면 개발중인 코드를 dev 또는 master에 merge를 해야되는 경우가 생긴다.
이럴 때 항상 헷갈리는 것이 바로 "어떤 브랜치를 남겨놓고 어떤 브랜치가 사라질 것인가?" 이다.
대다수의 사람들이 위와 같은 궁금증으로 git merge에 대해 검색할 것이라고 생각한다.
이 참에 해당 내용에 대해 정리하고자 한다.
기본적으로 우리는 만들어진 각 브랜치에서 작업을 하다가 완료가 되는 시점이 오면 브랜치 작업을 마무리 하고 기존 브랜치에 합쳐야 한다. 이 과정을 바로 "git merge" 브랜치 병합이라고 한다.
아래 그림과 같이 master branch에 dev branch를 병합해야 한다면
즉, master브랜치를 남기고, dev브랜치를 없애려면
다음과 같이 진행하면된다.
git checkout master #먼저 남길 branch로 이동한다.

git merge dev # master branch에 dev브랜치를 merge한다.

#큰 이상이 없으면 vim이 실행되고, 자동으로 commit이 생성된다. 그러면 esc버튼을 누르고 'wq'입력!

git log # log를 확인하면 merge가 된것을 확인할 수 있다.
이전 시간에 git reset에 대해 학습했었죠. git reset <커밋 해시>는 해당 해시로 버전을 이동하면서 해당 버전 이후에 만들어진 버전들은 모두 삭제한다는 점이 가장 큰 특징이었는데요. 추가로 --hard 옵션을 추가해야 Working Tree에 있는 파일들까지 해당 커밋 버전에 맞게 변경된다는 점을 꼭 기억하셔야 됩니다. 이번 시간에는 커밋 정보를 삭제하지 않고 이전 버전으로 돌아가는 git revert 명령어에 대해 알아보겠습니다.
1. git revert
git revert 명령어는 취소하려는 커밋 해시를 지정해주고 해당 커밋 해시를 취소하게 됩니다. git reset 뒤에 지정하는 커밋 해시로 돌아가는 것과는 다르죠. git revert는 취소하려는 커밋 해시를 지정하면 해당 커밋 해시를 취소하였다는 커밋을 새롭게 만들어 줍니다.(취소한 버전을 새롭게 만든다는 게 git revert의 커밋 취소 원리입니다. ) 쉽게 말해 취소한 이력을 버전을 만들어 기록하는 것이죠.
그럼 이제부터 git revert 사용 방법에 대해 예시를 통해 알려 드리도록 하겠습니다.
먼저 git log를 통해 현재 커밋들을 확인합니다.
$ git log --oneline --graph
그리고, 취소하려는 커밋을 확인합니다. (저는 a 커밋을 취소하겠습니다.)
$ git revert f2e779b
그러면 중간에 아래와 같이 해당 커밋을 취소하며 변경된 사항과 그 내용을 담은 커밋을 생성하게 됩니다.해당 내용들을 확인하고 이상이 없으면 ":"를 누르고 "wq"를 통해 저장해주면 해당 커밋을 취소한 새로운 커밋이 생성되게 됩니다.
남들과 협업을 하게 될 때 git을 사용하게 되는 경우가 있는데 만약 취소나 변경사항이 생길 경우 git reset을 사용하는 것보다 git revert를 사용하는 것이 훨씬 안정적이므로 꼭 까먹지 않았으면 좋겠습니다.